
Removing the Roadtrek Fridge
The good news is that the second time you remove your
fridge it is easy. The bad thing is
that the first time can be a challenge.
Here are some photos and instructions to make your first time
easier. The photos and description
are for the Dometic 2310, but later models will likely be very similar.
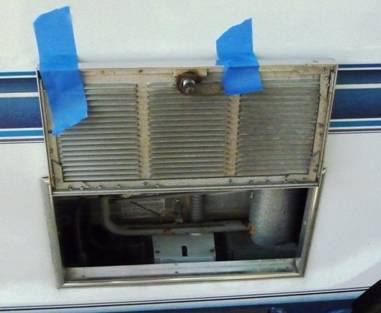
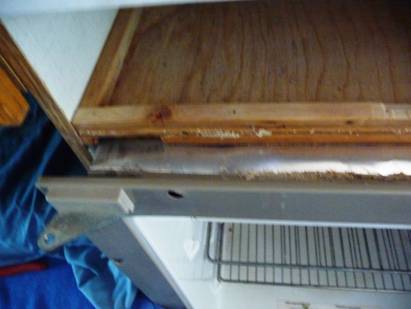
Step 1: Open the fridge access door and use something to hold
it open.
The
plastic cover in the center bottom covers the 12 volt electrical connections.
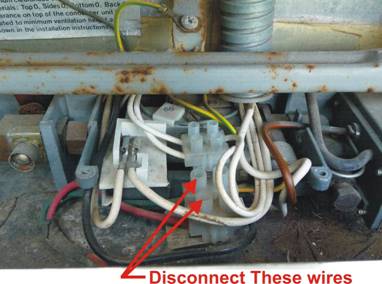
Step 2:
Remove the plastic cover and find the 12 volt supply wires. Disconnect these two wires.
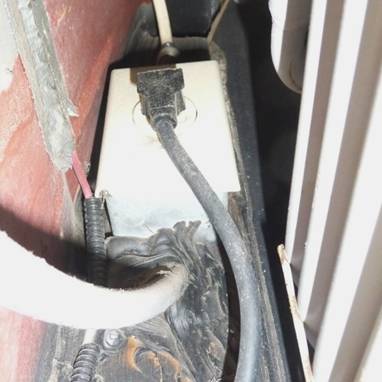
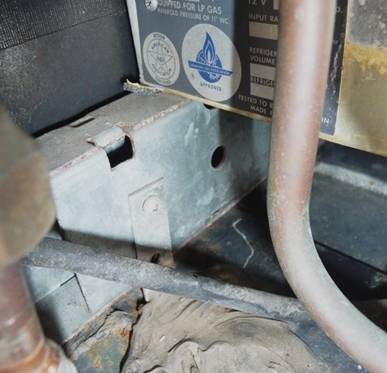
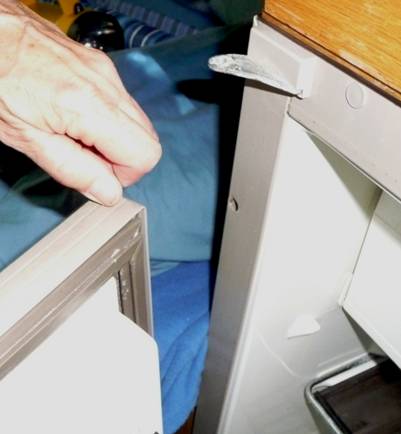
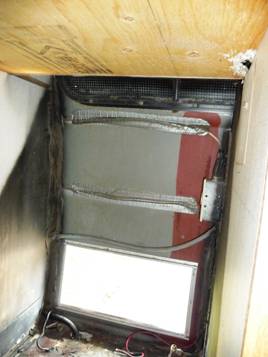
Step 3: Now disconnect the 120 volt power
cord. Look up into the compartment
between the van wall and the back of the fridge. On the left side will be a standard
outlet with a plug. Reach up and
unplug.
This
view is looking up between the fridge and the van wall at the left side of the
fridge access door.
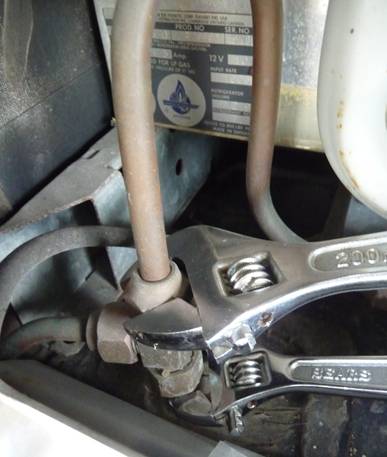
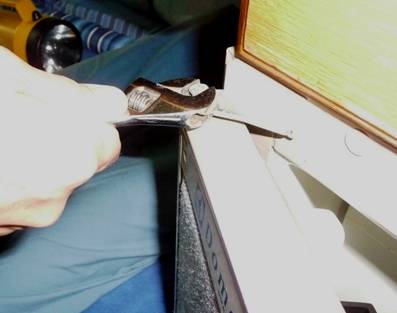
Step 4: Use two wrenches to disconnect the gas
line. Be sure you have turned off
the propane at the tank first.
A
little gas in the line may escape when you disconnect. This is normal, and will quickly dissipate.
Step 5: On the left the fridge rail is attached
to a bracket to keep the fridge from moving. Remove the screw(s)
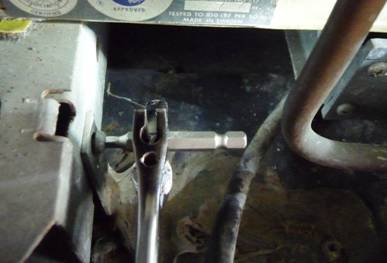
There
is little room to use a screwdriver (and it is a Robertson screw). After trying several other approaches,
we ended up using a square (Robertson) bit and an adjustable wrench to turn it.
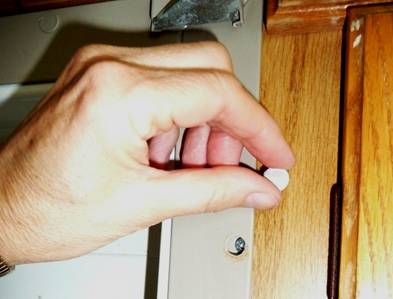
Step 6: Now go inside your Roadtrek and remove
the 6 caps that conceal the screws on the front face of the fridge.
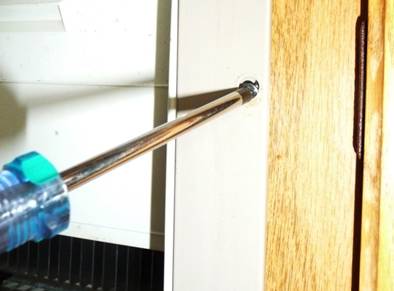
Step 7: Now remove the 6 screws that hold the fridge to the
cabinet.
Step 8: To remove the door, remove the bolt at
the top hinge of the fridge.
Step 9: The fridge door can be lifted off the
bottom pin. Set the door aside.
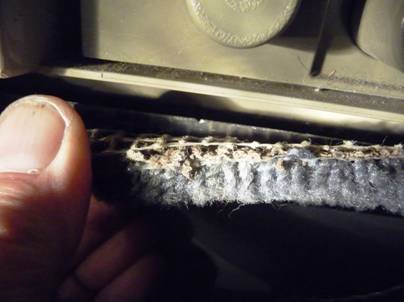
Step 10: Pull away the carpet to get to the
silicon bead at the base of the fridge.
The
metal retaining strip is held with screws.
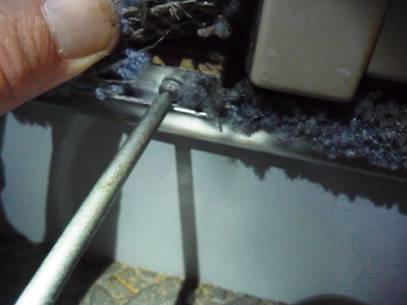
Step 11: Now the hard part. Slide a sharp knife under the fridge and
cut the silicon bead. This is
difficult and takes some patience to cut the seal all the way across.
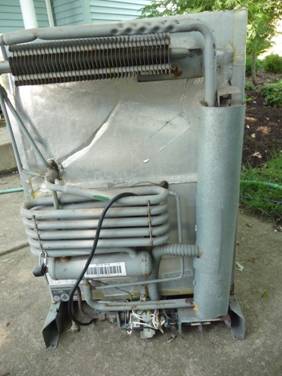
Step 12: With someone outside pushing and someone
inside pulling, the fridge should finally begin to move. We had to use a 2x4 and a hammer on the
flat back of the fridge to get it moving.
Fit is very tight and if it gets cocked to either side or top to bottom
it will not move.
 Here is what the compartment looks like without the
fridge.
Here is what the compartment looks like without the
fridge.
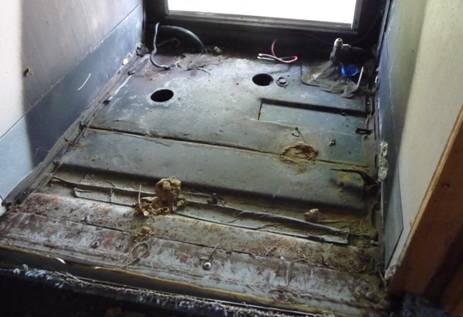
Your
fridge is now ready for cleaning or installing a Snyder kit or whatever.